Case-sensitive work directory under macOS
By default, macOS’s filesystem, either HFS+ or APFS, are case-insensitive. It means that the system will treat names with different casing as being the same, for example taxes and TaXEs being the same file. You cannot have both in the same directory.
However, a lot of programming tooling is aimed towards case-sensitive filesystems, which is the standard under UNIX-based systems line Linux. This can lead to some issues if you have projects where people under Linux and macOS work together: creating two git branches with different casing can wreak havoc on macOS clients. The same way, something can work on macOS and fail on Linux because it relies on the case-insensitive behaviour.
If you are an advanced user, it is possible to install macOS on a case-sensitive system: APFS and HFS+ both support a case-sensitive variant, and macOS itself works well on that configuration too. However, by experience, I would not recommend it at all, as while macOS itself does not mind, some software for macOS do mind, written for a case-insensitive file system. Some software, like Adobe products, will flat-out refuse to install on such a filesystem.
APFS introduced another feature to the file system that is very useful for this: Volumes. A partition can hold several volumes, which are shown as separate drives, like if they were separate partitions, however they all share the same disk space, so you do not have to divide your available space in a rigid distribution like you would have to do with a separate partition.
Making a volume for development files is very easy. Open the Disk utility app, select your root container, and select the “Add APFS Volume…” option or click the + icon in the toolbar. A new dialog will ask you to name your volume and select the volume format. Open the format list, and select one of the “Case-sensitive” option. If you elect to encrypt the volume, it will ask for a password that macOS will then save in your keychain to automatically unlock, so you do not have to enter this passphrase at each boot. You can also click the “Size options” button if you want to assign a maximum quota to your volume if you want macOS to impose a strict limit on the volume size. Then click on “Add”, and your new volume should appear in the Finder, mounted as a generic disk drive.
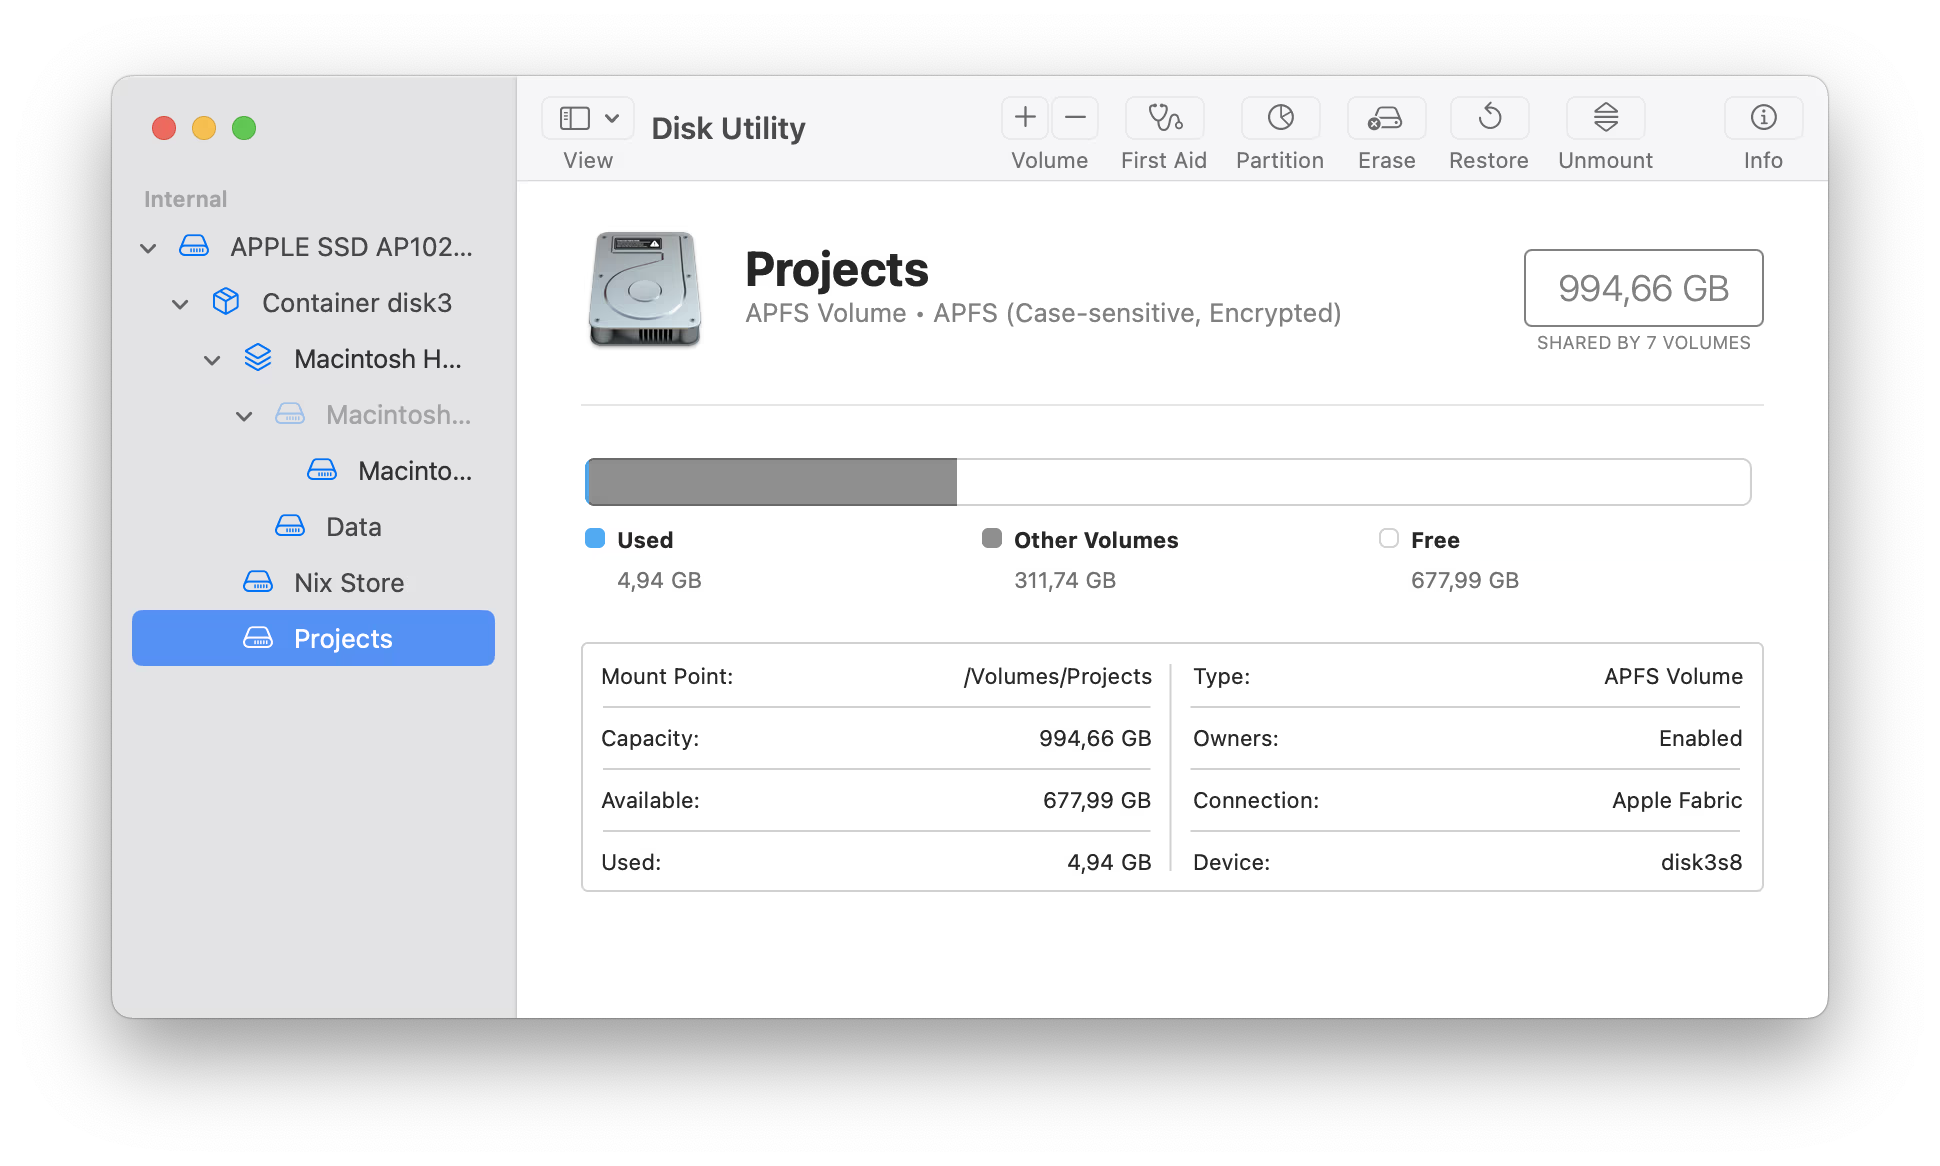
You can access it by its mount point under /Volumes, and, as a disk drive, it should appear in the Finder sidebar permanently for easy access. You can give it a custom icon like any other drive by pasting an icon into the one found in its Info window for maximum customisation.
Inside this folder, case-sensitive rules apply, making it great to store your programming projects, while standard case-insensitive rules continue to apply to the rest of the system.